
Here's the cast of characters: salt, olive oil, baking powder, baking soda, sugar, milk, yogurt, and flour. Easy enough.

Measure out all of the dry ingredients in a bowl.

Stir them up.

Now form a "well" in the center of the bowl with your flour.

I took several pictures in case you couldn't see it due to the shitty lighting.

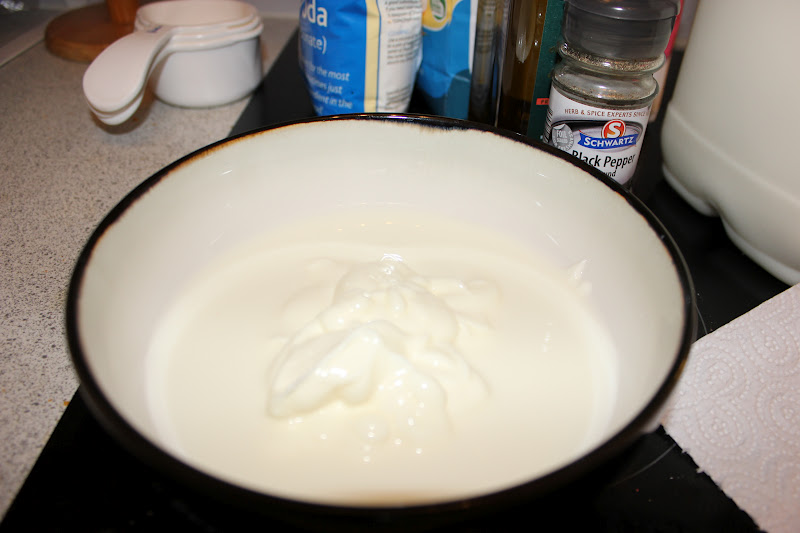
Next, measure out half a cup of milk and warm it up....

And add half a cup of plain yogurt to it. Mix together.
This picture looks unappetizing, huh?
Now pour the warmed dairy mixture into the well, a little at a time, and begin stirring the dry ingredients into the wet ingredients.

It'll start forming a dough. The original recipe says that you can add as much or as little as is necessary to form the dough. Mine kept getting dried out so I'd keep adding a little more...until I had eventually used all of it.

It should form into some lumpy, sticky dough.

The recipe says to form it into a ball (for which I had to flour my hands)...

And cover it with a damp cloth for 2 hours to "rest". Or something. Then you do all that other stuff I talked about yesterday.

After two long hours, you can flour your counter, big wooden cutting board, or tiny ass plastic cutting board that can barely fit on your kitchen counter.

Scoop out the sticky dough. You might think by letting it sit, it should have risen or changed somehow. It won't.


Now start kneading that stuff for about 2-3 minutes. Mine was extra sticky so I'd add a little flour every now and then.


When you're done kneading it, form it into a ball...


And score it into 8 pieces. If you want them even. If you wanna tear globs of dough off and wing it, you can do that too! Whatever makes your skirt fly up, as they say.


Then....you like....separate the pieces out and form them into a long square shape. This wasn't as easy as I thought. It was still sticky and wouldn't completely stretch the way I needed/kneaded it too. Ha!
After you shape it like you want, you can season it up with anything you choose! Salt and pepper, herbs, spices, whatever you want! We chose oregano, rosemary, and garlic powder. You season one side pretty liberally, and then flip it over and brush water on the other side. (I don't have a pastry brush so I used my fingers and it worked just fine.)
This picture kinda looks like a chicken cutlet or something doesn't it?

Then you take the very stick water side and throw that down in a hot pan. You watch it for few minutes; it'll start to bubble up and you can use a spatula to check the underside. Then you flip it onto the seasoned side and let that part get nice a charred.
In the recipe I go off of, they suggest putting the water side down in the pan, and after that side is done, charring the other side with tongs over your gas stove. I don't have a gas stove and did both sides in the pan and it worked beautifully.

Voila! Our first finished piece.

Here are some more pieces, spread with Irish butter, which is evidently essential to good naan. (Not necessarily Irish butter, just butter.) Mmmmmmm.


We made 8 delicious pieces of this soft and chewy goodness and managed to eat 5 just that evening alone between the two of us. It's perfect to eat alone and wonderful to use as a vehicle for scooping up sauce and rice. It's so easy that I think I shall make some again when we get home from Belfast, and try some different spices. Yay!
Here are the two recipes I used: the original one (made by IndianSimmer, an awesome Indian food blog), and one with step-by-step instructions if you don't find mine very helpful!
Happy eating!
Holy crap that looks good. I would use that to sop up everything on the plate!
ReplyDeleteUncle Tom